
Do it yourself ‘Face mask’ with pocket insert for filter
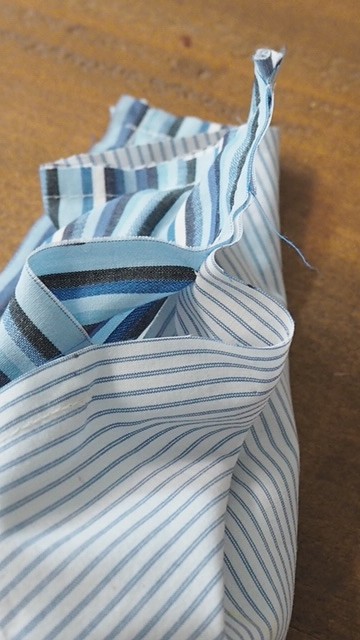
For this project you will need a good quality cotton fabric, medium to heavy in weight (cotton is constructed a plain weave, it is the simplest & tightest of weave). If you can use organic cotton even better, I find it softer on the skin and it is more durable too. You can also use clothes you no longer wear. Men dress shirts, old cotton pyjamas of good quality or even old Egyptian cotton blankets. My husband has a few dress shirts he no longer wears. I have selected the better quality cotton out of the pile which I have reused below (the rest will be donated or given to charity.
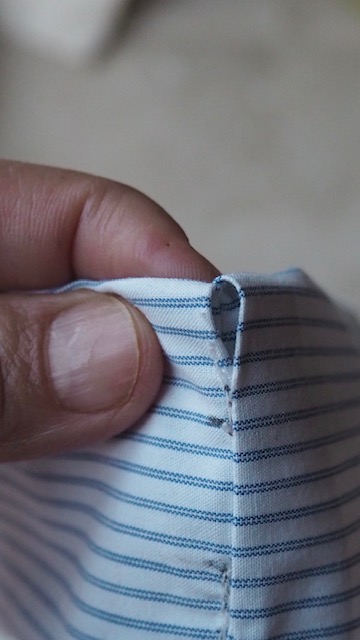
Please note if you going to use second hand items of clothing, always cut from areas that are not worn out, like the cuffs, elbows, parts of back or the neck line. You will see that the fabric is thinner in this area & there are often colour changes there too.
For the ties you will need some jersey material – same as that of a T-shirt material – I am using here old organic jersey I had left over from making my son’s yoga pants and T-shirt’s.
This should NOT in anyway replace the official masks provided by health care specialists. The idea of wearing a mask is to slow the spread of virus covid19 and prevent you from spreading it.
People have resorted to making them at home because of shortages. For hygiene reasons always wash your mask daily by hand. If necessary soak in hot water first, then wash by hand with detergent or put in a pouch for machine washing.
I have linked here the type of cloth used in homemade masks & it’s effectiveness.
Testing Shows Type of Cloth Used in Homemade Masks Makes a Difference
So let’s begin…
Material
- 2x cotton 23cm x 20cm (9’x 8’) use two designs if possible for front & back.
- 4x cotton jersey (ties) 46cm x 2.5cm (18’x 1’).
Pouch optional:
- 2x cotton (same fabric) 23cm x 20cm (9’x8’).
- 1 cotton jersey tie 45cm.


Instructions
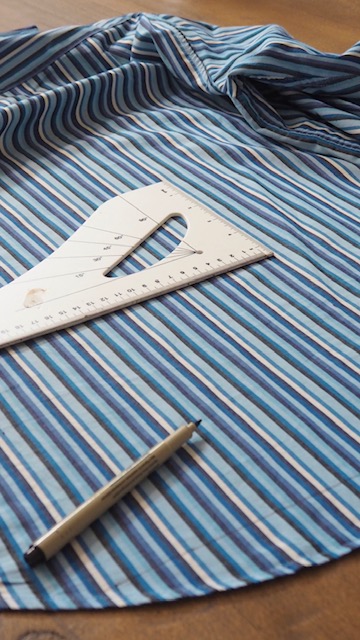
Cut fabric size 23cm x 20cm.
- I have cut up my husband’s old shirt, using two different colours for the front & back of mask (you can probably get between 4-5 masks out of a medium size shirt) . Notice the patterns on here are stripes which were easy to cut & measure, all I did was follow the lines.
All over pattern/design work well too, which is great for beginners.

- Cut your ties you will need x4 measuring, 46cm in length by 2.5cm width.
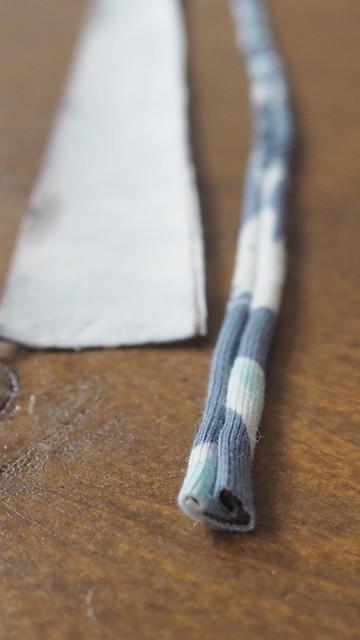
 Once finished cutting you will notice the jersey wants to roll inwards. If you pull both ends, you will get the effect as in picture above. These will be your ties, you need four!
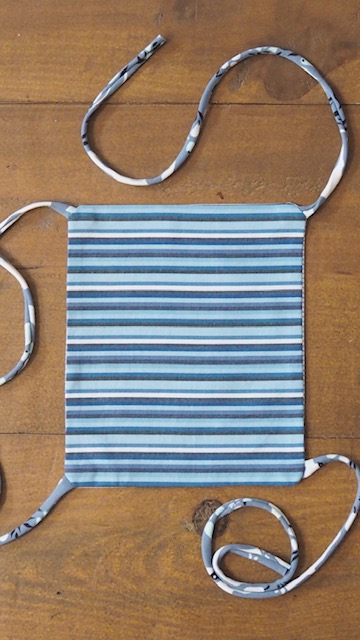
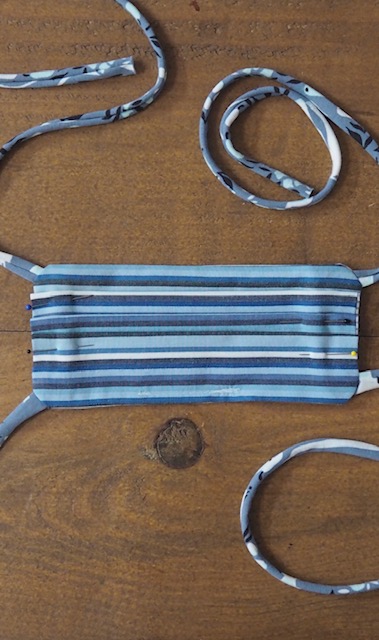
- Take your cotton fabric -the back part of the mask- place it right side of fabric facing you.
Take your first tie and place on the top left hand corner of the fabric. Take your second tie and place it on the opposite side of the fabric. Like in my picture.
Notice I have made sure both ties are neatly placed in the middle. This is to ensure when I go to sew it I don’t accidentally sew them as well.
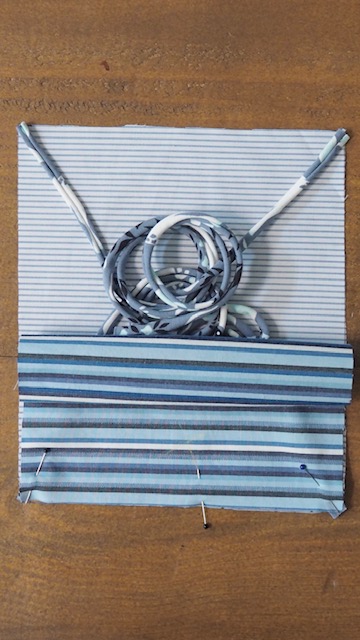
- Take the front piece of your fabric and place on top (right sides of fabric together) sandwiching the ties in between.
Can you see my faint yellow cross, this is my mark for wrong side of fabric. Take pin to hold tie corners & fabrics together.
- Follow same step on the other side. Use pins to hold everything in place. Should look like my photo afterwards.
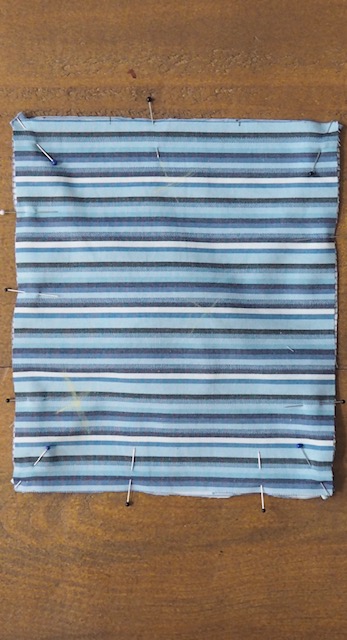
 You’re ready to sew!!
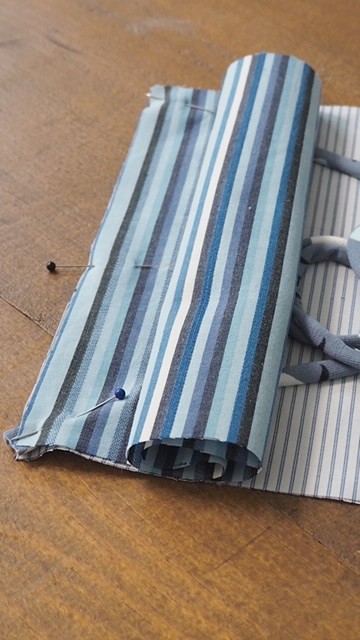
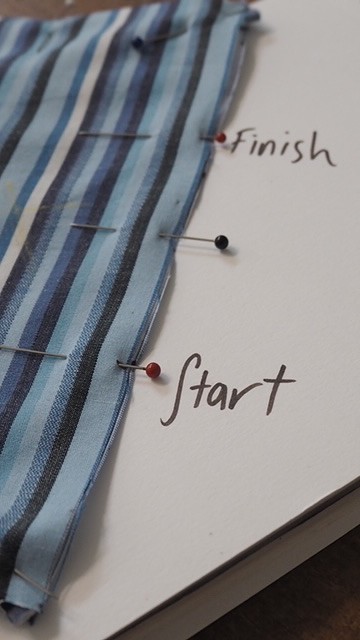
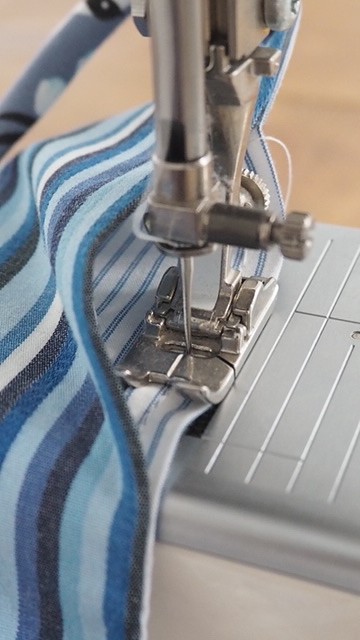
- The red pin is where I will begin to sew as in my picture. Please ensure you have the correct colour threads & check your tensions are all in place. Test on another piece of fabric before you begin if unsure. You want nice neat stitches!
Also I have left 8cm opening, this is to insert a filter afterwards.
- I am using 1cm seam allowance. Don’t forget to double back stitch at the beginning & end. This is to ensure your stitches are really strong, secure & do not unravel!!
- I sew all the way around. In this picture I double back stitched so the ties a firmly secured.
- As I sew along my seams I ensure that my ties are all tucked in. The last thing you want to do is unpick it… every sewist’s nightmare!!
 Nearly there!!..
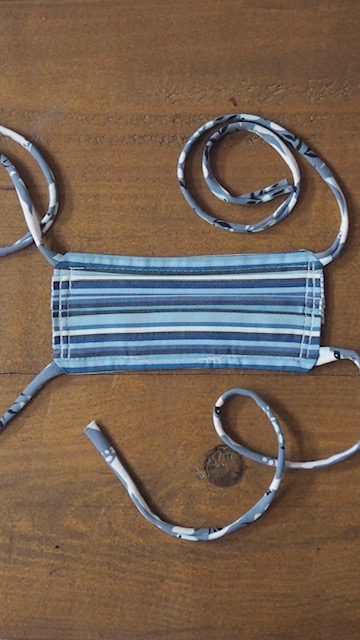
- Now turn everything the right way round. Give both sides a good press. This is what it should look like.
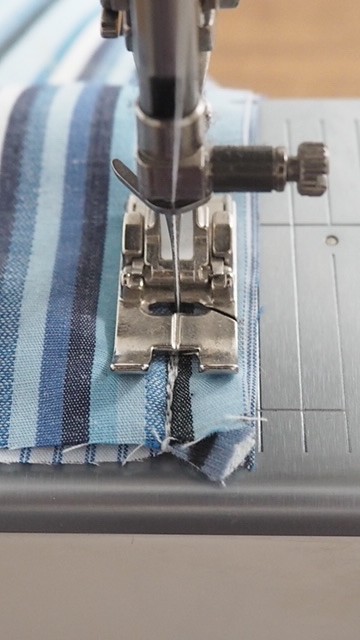
- Run a straight stitch on the opening to stop from fraying. Do both sides.. as in picture.
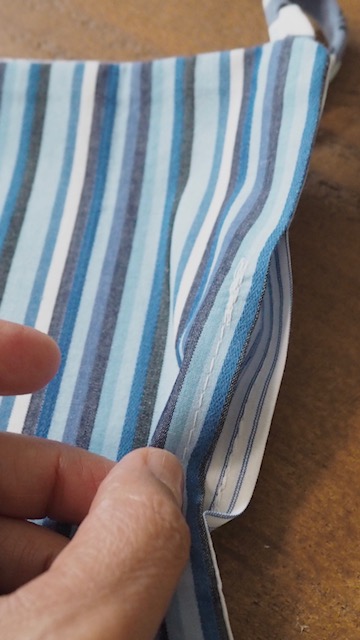
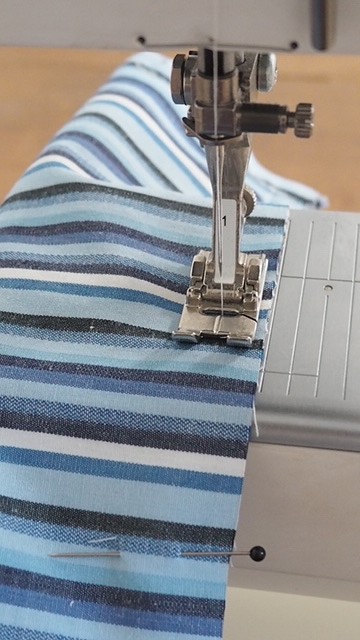
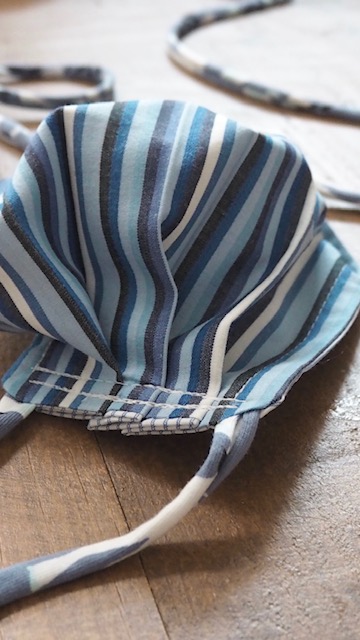
- Fold three times as in picture- press with iron- Pin then sew all around, leaving gap insert opening (use 1cm seam allowance).
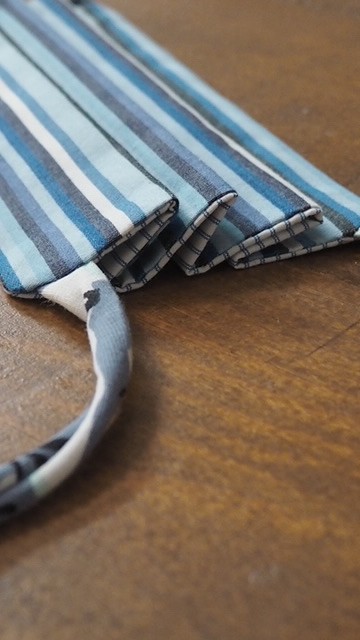
- Do another stitch where you have made the fold. To hold the pleats down so it doesn’t gape – your mask is done!!


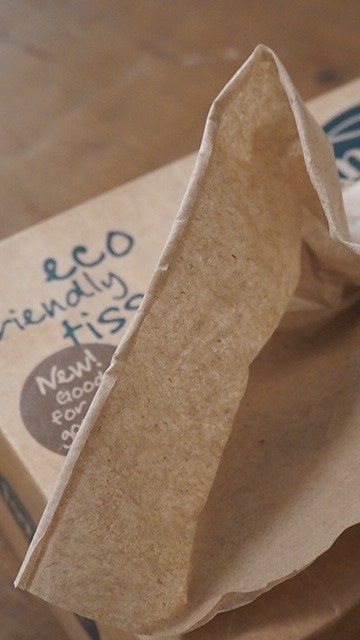
For the filter I have been using this eco tissue it’s very strong & am able to spray with essential oils without it dissolving.
My favourites are organic, tea tree, ravintsara, eucalyptus or peppermint, give it a go!!
For the pouch optional..
Use the measurement as provided above.
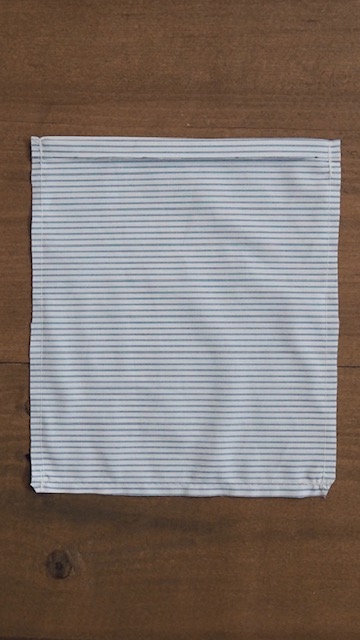
- Using 1cm seam allowance stitch all around except the top opening. Should look like the picture when done.
- Press open side seams.. Fold top 1cm to hide the raw edges then press.
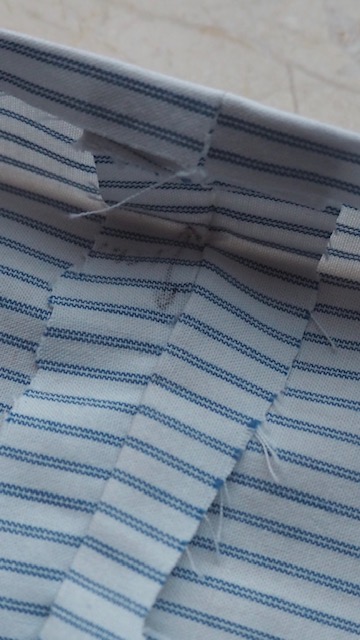
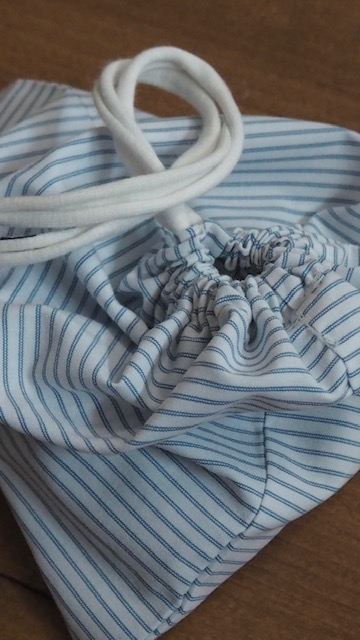
Fold again this time 1.5cm then press. Now you need to make a small opening about 1cm for the tie to go through one side only. Have a look at the picture. This is where your opening should be.
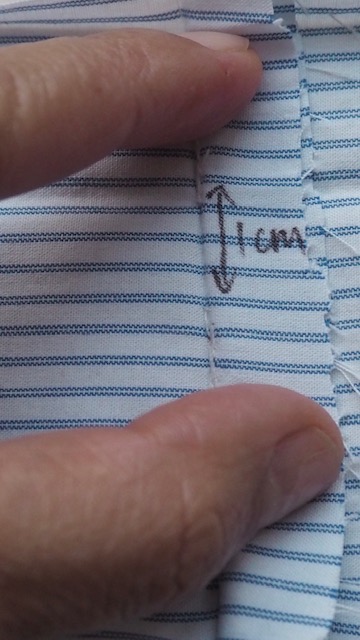

- Stitch the second fold down about 3mm from the edge as in the picture.

- Pass the tie through the opening using a safety pin..
Your pouch is done! For hygiene reason you can put your mask here after use. You can place everything in washing machine as well to protect your mask & make it last longer!
Pattern by DanaMade